
 Date/Time
Date(s) - Thursday, 09/24/26 - Thursday, 11/05/26
9:30 AM - 4:30 PM
Location
Best Little Retreat Center in Texas, LLC
Categories No Categories
Dates: This class is in 3 Parts on the following Thursdays:
Session #1 – Thursday, September 24, 2026 9:30am-4:30pm
Session #2 – Thursday, October 8, 2026 9:30am-4:30pm
Session #3 – Thursday, November 5, 2026 9:30am-4:30pm
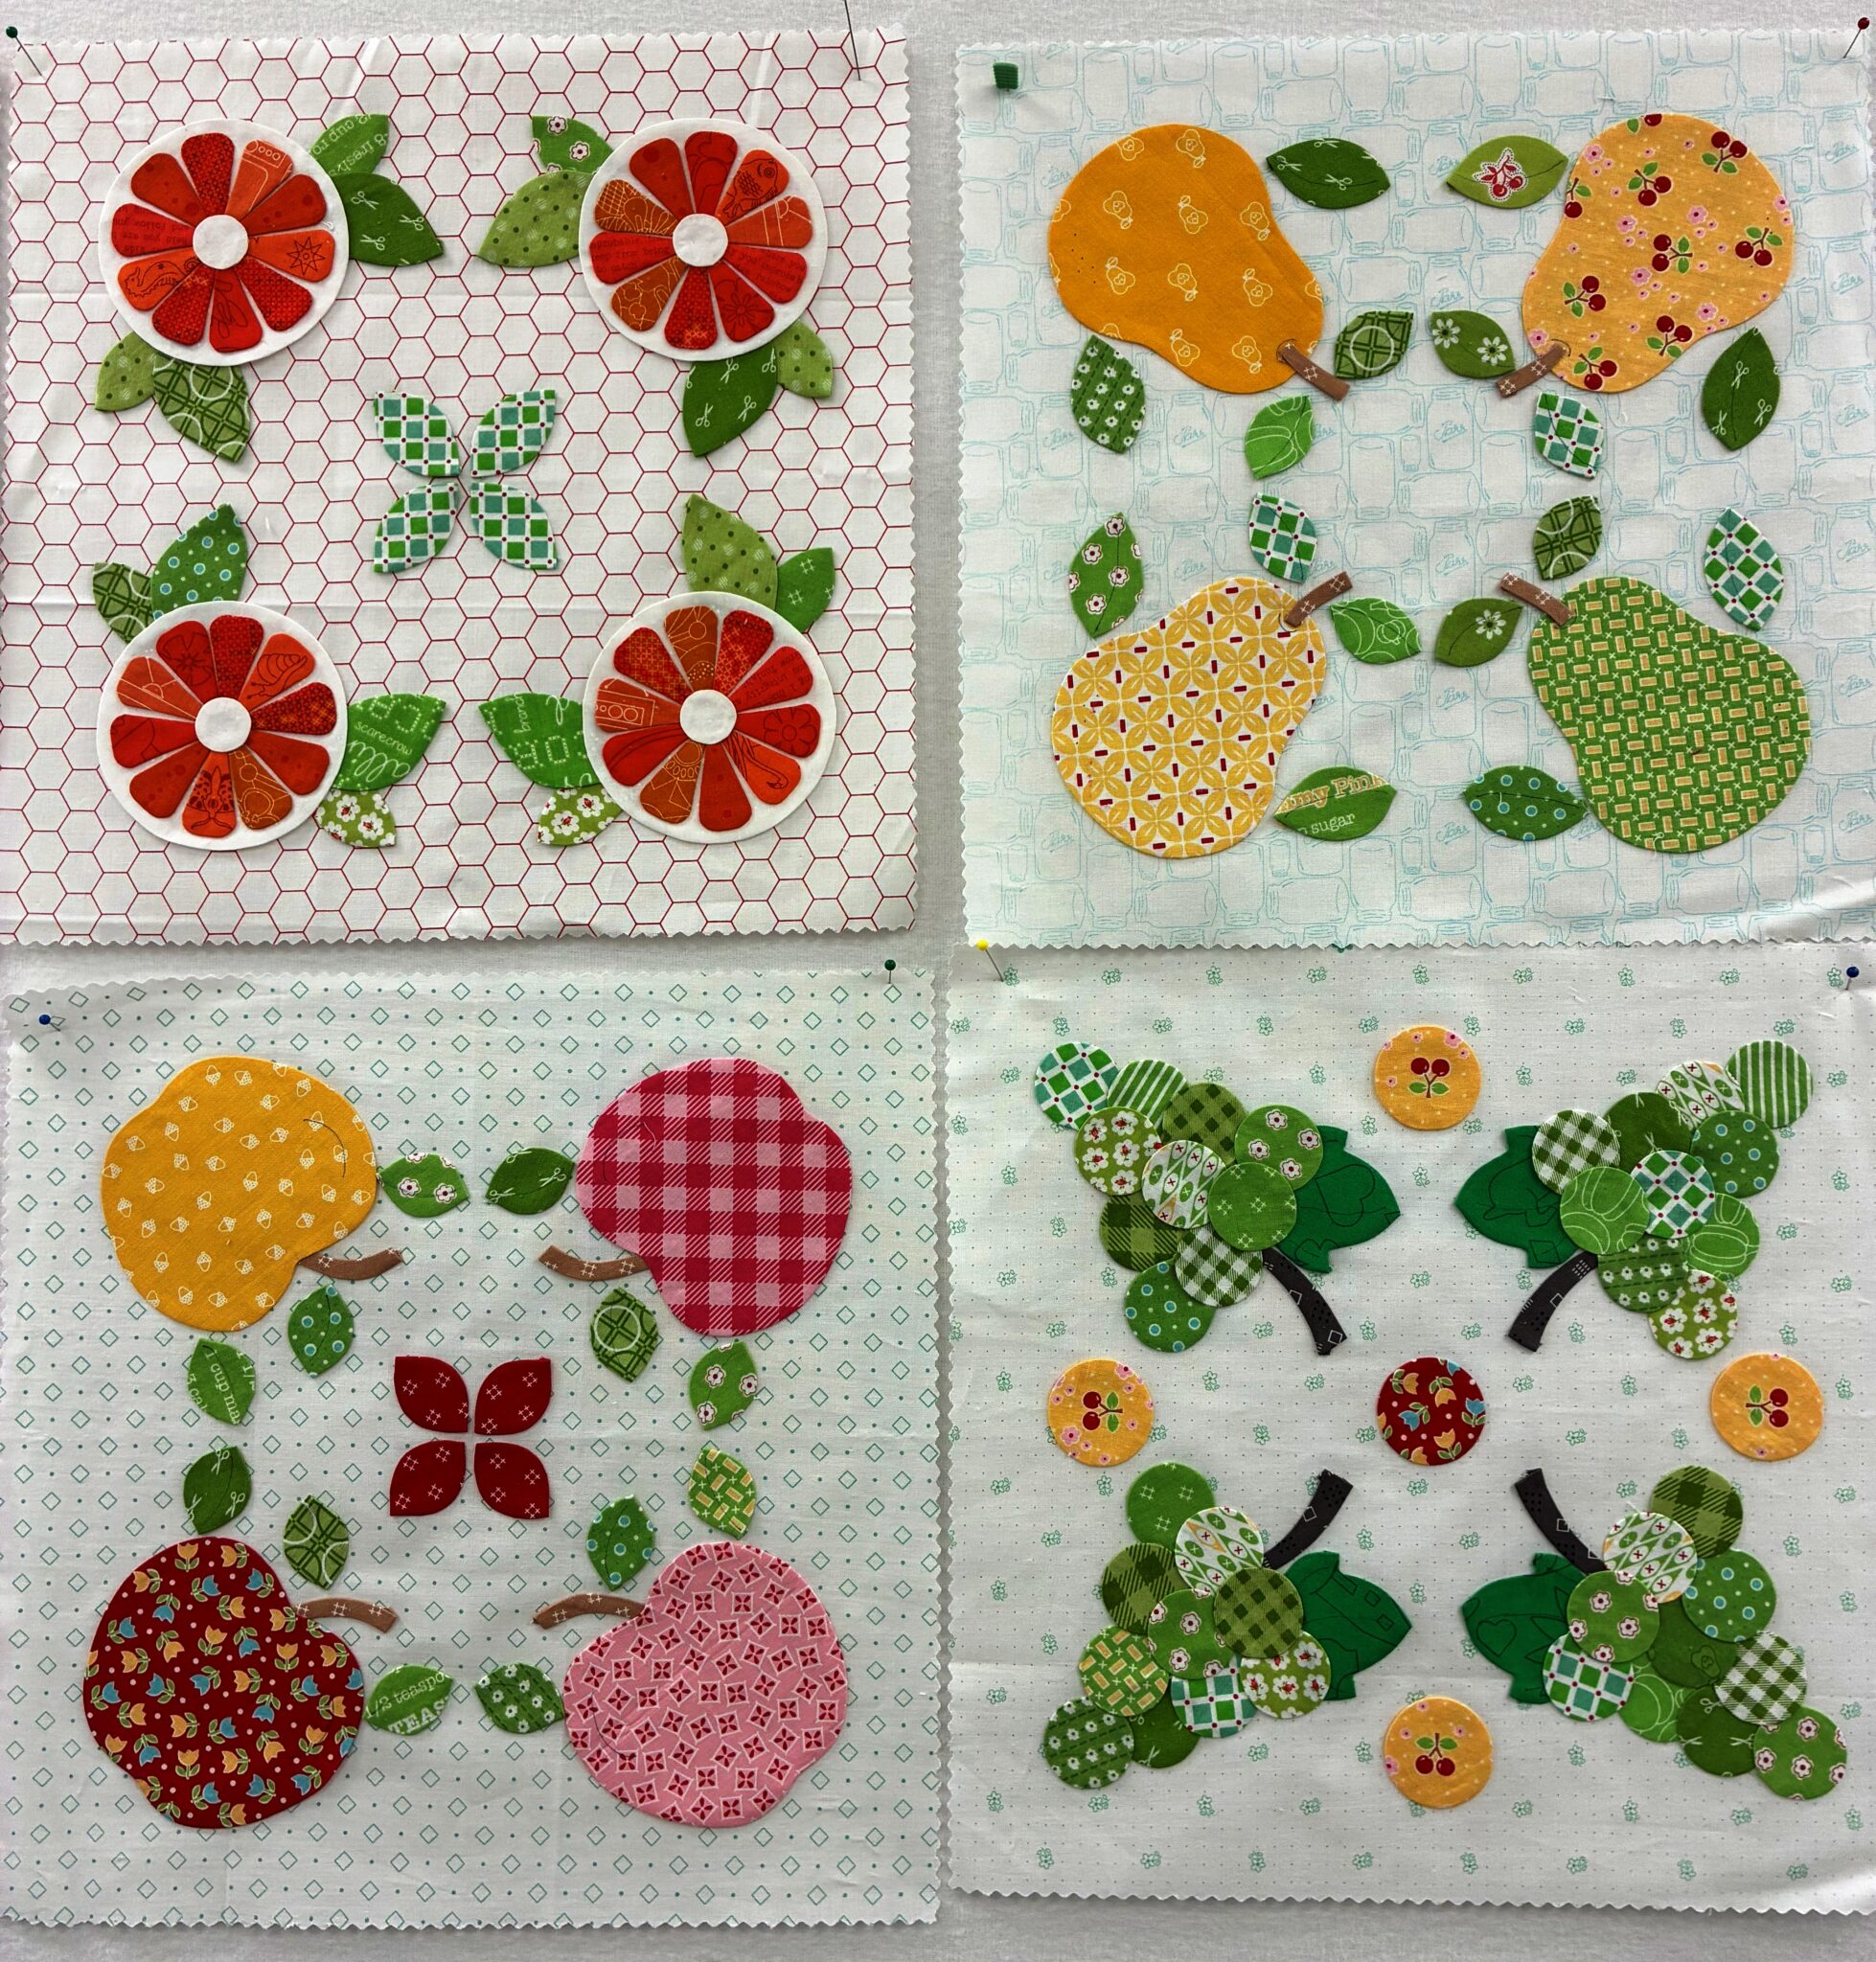
This is a 3-day class designed to gently show you the wonderful technique of hand applique with the freezer paper/starch method. We will be making 12 applique blocks of different flowers and fruits from the book The Vintage Flower Sampler Quilt by Atsuke Matsuyama. (Book is required for class) The pieces are large and forgiving – perfect for a beginning student. We will cover inner curves, outer curves, deep V’s, sharp points, circles and ¼ bias- which are all of the techniques needed for any hand applique project. We will cover fabric preparation, pattern preparation, turning the seam allowance, glue basting, and stitching your block in class. This class will be at a relaxed pace, fun, and informative.
Retreat Center Fee: $60 – reserves your spot for all 3 days
Instructor Fee: $100 – payable to Linda Neal the day of the class via cash, check or Zelle
Instruction time will be from 9:30am-4:30pm.
REQUIRED BOOK/PATTERN: The Vintage Flower Sampler Quilt by Atsuke Matsuyama (can be purchased at Best Little Quilt House & Retreat Center)
CLASS SCHEDULE & FABRIC REQUIREMENTS:
SUPPLIES:
- Regular Starch (NOT heavy duty) with small container (aerosol or non -aerosol)
- Roxanne’s Glue Baste It- put the glue into an empty Dritz Machine oil bottle*
- Stiletto- one with a good sharp metal point that feels comfortable to you*
- Brush- 1/4 in. angled paint brush from the painting section at a craft store
- Small travel sized iron- Cricut Easy Press Mini Iron or similar. My favorite is the Clover WEDGE iron that has been discontinued. A small Rowenta iron is fine, but heavy.
- Cheri’s Cool Tool- MUST have (available from cheriscrystals.com)
- Flower head pins or similar*
- Scissors For fabric: I prefer serrated – Kai purple handle or Karen Kay Buckley middle size – light blue handle*
- Scissors For paper: curved and straight scissors in a variety of sizes. (I use Kai curved N5135 along with 4 inch straight #5100 and Kai 5 1/2 curved #5100C.)*
- Applique Scissors- straight, sharp tip, Kai is my favorite #5100*
- Clover 1/4 bias maker (it MUST be the Christmas green one-NOT the purple or mint green one)*
- Wool ironing mat (size 12X18 or similar) with piece of cotton fabric to cover it.*
- Rotary cutter, small cutting mat (12X14 or similar) and any long ruler (3X18 etc)*
- 1/4-inch white foam core board – available from Walmart, Michaels or office supply store cut to size of your project
- Parchment paper- roll or pre-cut sheets- you need 1 piece the size of your project
- Vellum Paper – 29 wt Recollections available at Michaels
- Light box
- Cut Rite Heavy Duty Freezer paper made by Quilters Paradise- 8 1/2 X 11*
- Ultra-fine sharpie – any color and a pencil
- Emory board (nail file)
- Silicon pressing mat or silicon hot pad- keeps your irons from burning tables or falling onto floor during class
- Aleen’s OK to Wash It for stitching*
- Extension cord- a short cord to plug in both of your irons at your desk
- Your favorite applique needle- mine is a size 8 straw for cotton thread. Size 10/11 for silk*
- Cotton or silk thread to make your applique pieces
*Available for purchase at Best Little Quilt House & Retreat Center
FABRIC PREP: Reason for rinsing fabric: To remove any excess dye, chemicals or pesticides from the fabric.
Supplies: Retayne, Color Catchers, plastic containers, water, gloves, towels, iron and an ironing surface.
For scraps up to FQ: Use about a teaspoon of Retayne in an inexpensive plastic pitcher filled with warm water. Add similar colors of fabric into the container. Agitate the fabric occasionally with a gloved hand. Let it sit about 15 minutes. Pour off the solution and rinse with fresh warm water. Allow the fabric to soak in the warm water for about 15 more minutes- moving the fabric around occasionally during this time. Rinse the fabric 3 times (or more) until the water is clear. Always use a glove when working with Retayne as it is very drying to your skin. Towel dry scraps and then press them completely dry with an iron.
For ½ yard and up: Soak fabric in a large sink or plastic bin filled with warm water and a few tablespoons of Retayne. Add like colored fabric and use a gloved hand to move the fabric around so it is completely wet. If one fabric is excessively bleeding- then soak that piece separately. Rinse the fabric several times, soaking it for 15 minutes (or more). When the water rinses clear- put the fabric into the washer with a Shout Color Catcher. Use the rinse cycle on the washer with warm water. If the Color Catchers have any color on them after the rinse cycle- repeat the rinse cycle with a new Color Catcher. Repeat until Color Catcher is clear. Put the fabric into a dryer set on hot for a few minutes. (14 minutes works well for me). The fabric should be almost dry. Press the fabric the rest of the way dry and use a rotary cutter to cut off any frayed edges. Consider using a pinking blade- so you know what fabric has been washed.
NEVER add Retayne direct to the washing machine. (manufacturer instructions)
Your fabric is now ready to be used for applique. If you see ANY color coming off on your freezer paper or work surface- stop and repeat the process with more Retayne. If your fabric will not stop “bleeding” – do not use it for applique.